Project Creation
Creating a New TestBot Project
Right-click in the Navigator and choose: New -> Project…
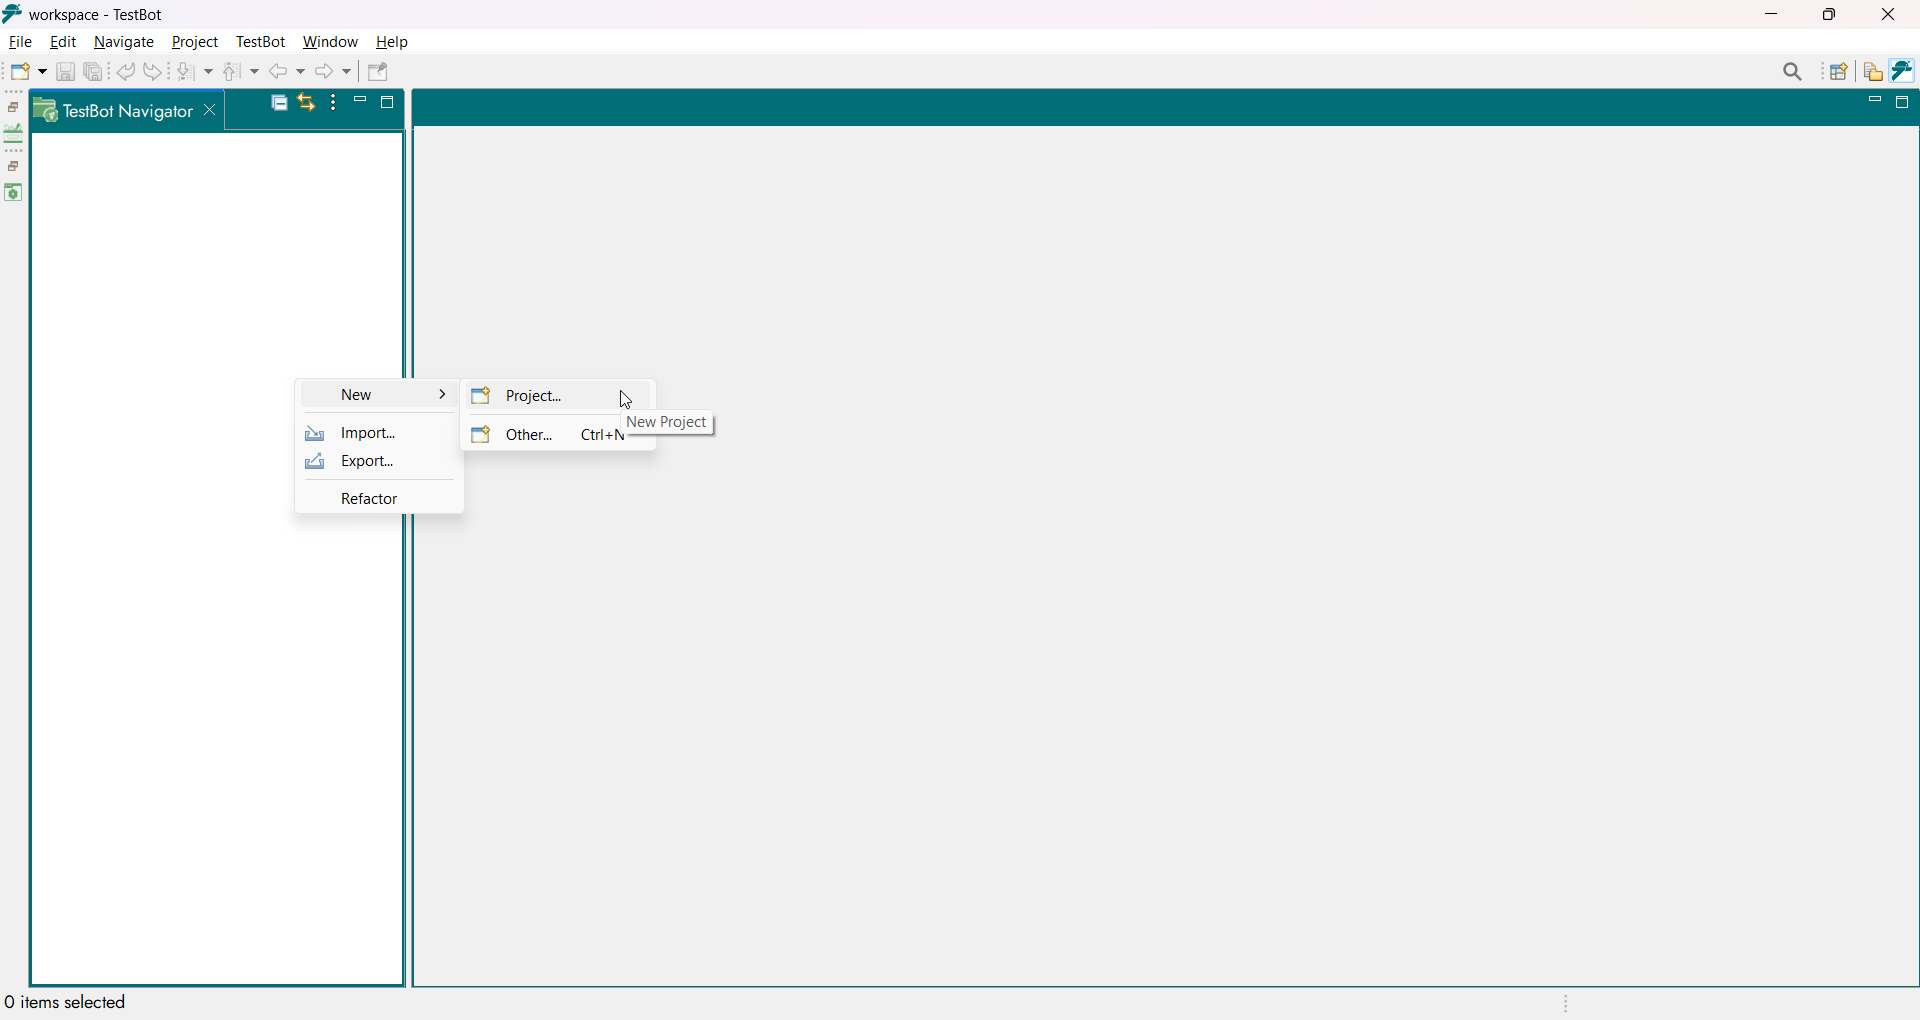
New Project menu
This opens the project wizard, locate and select TestBot Project under the available project types and Click Next to continue.
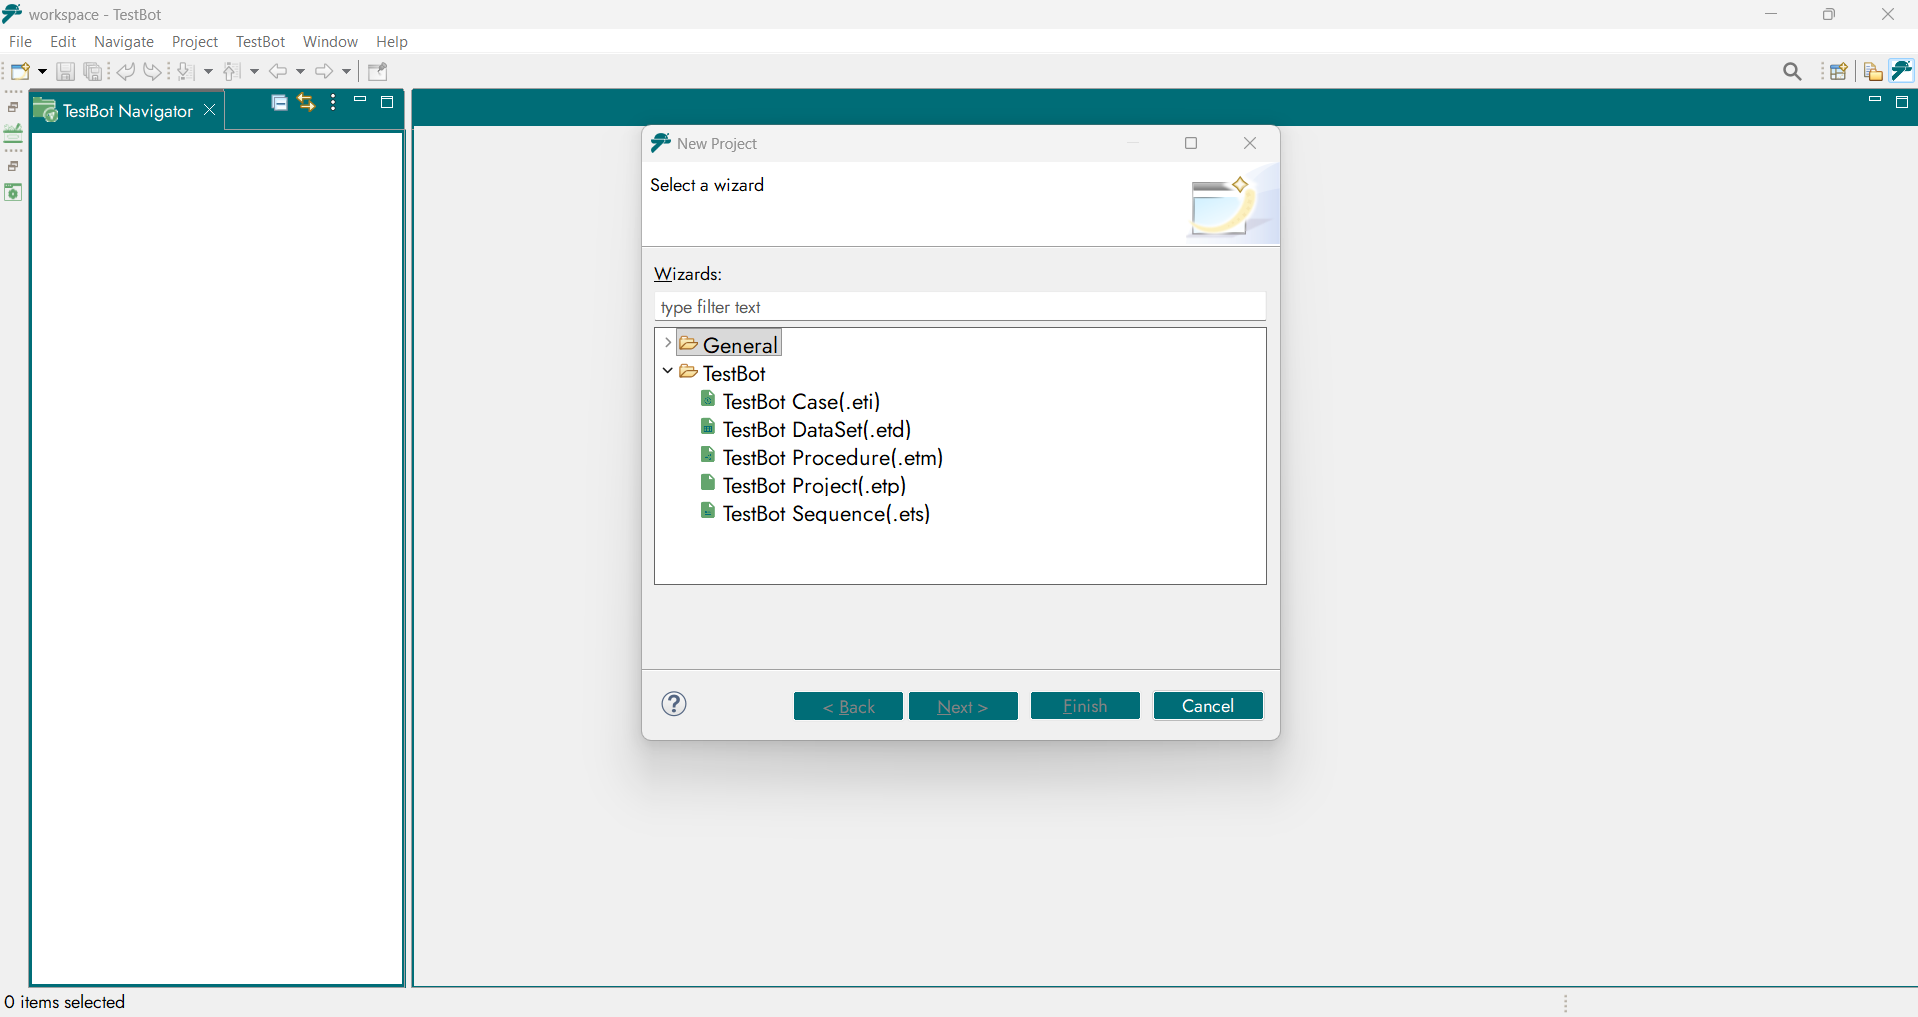
TestBot Project type list
Enter Project Details, Project Name: A unique identifier for the test automation scope.
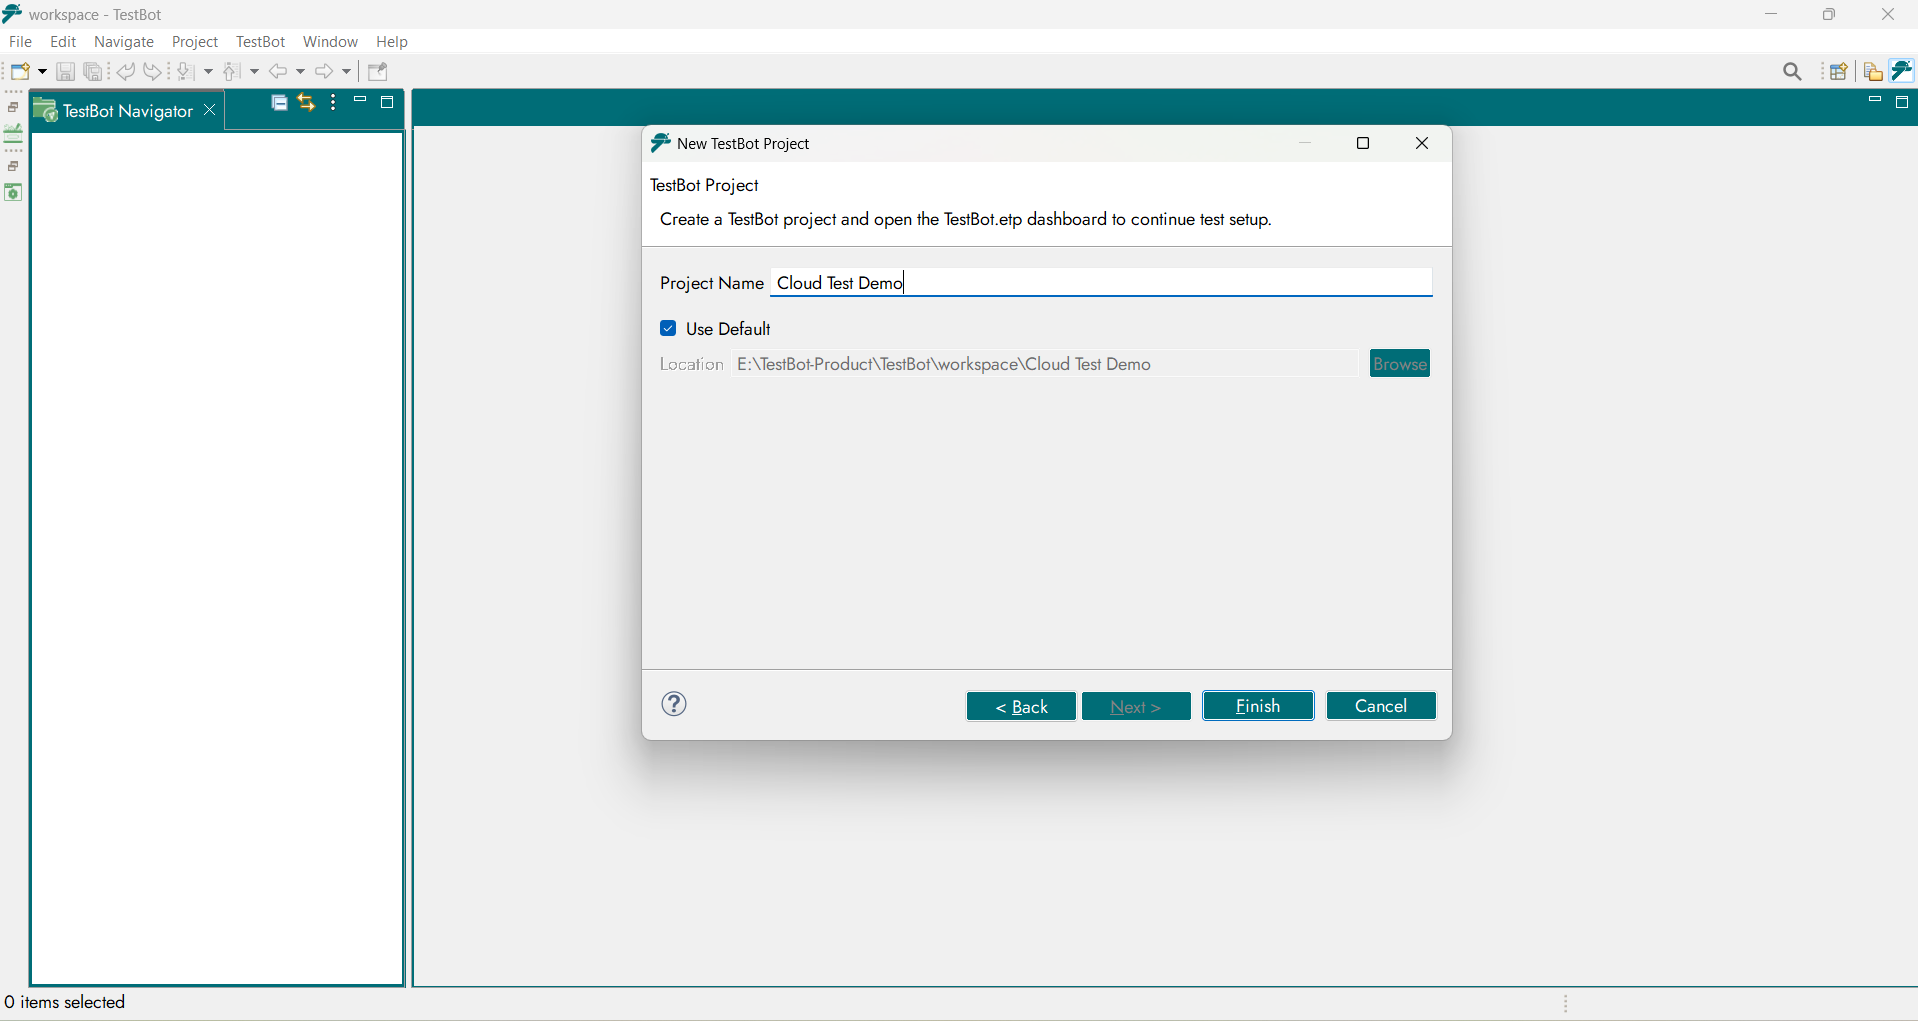
Enter Project Details
Location (optional): Workspace folder where project files will be stored (defaults to workspace root) and Click Finish to create the project.

Project Location field
Project Created
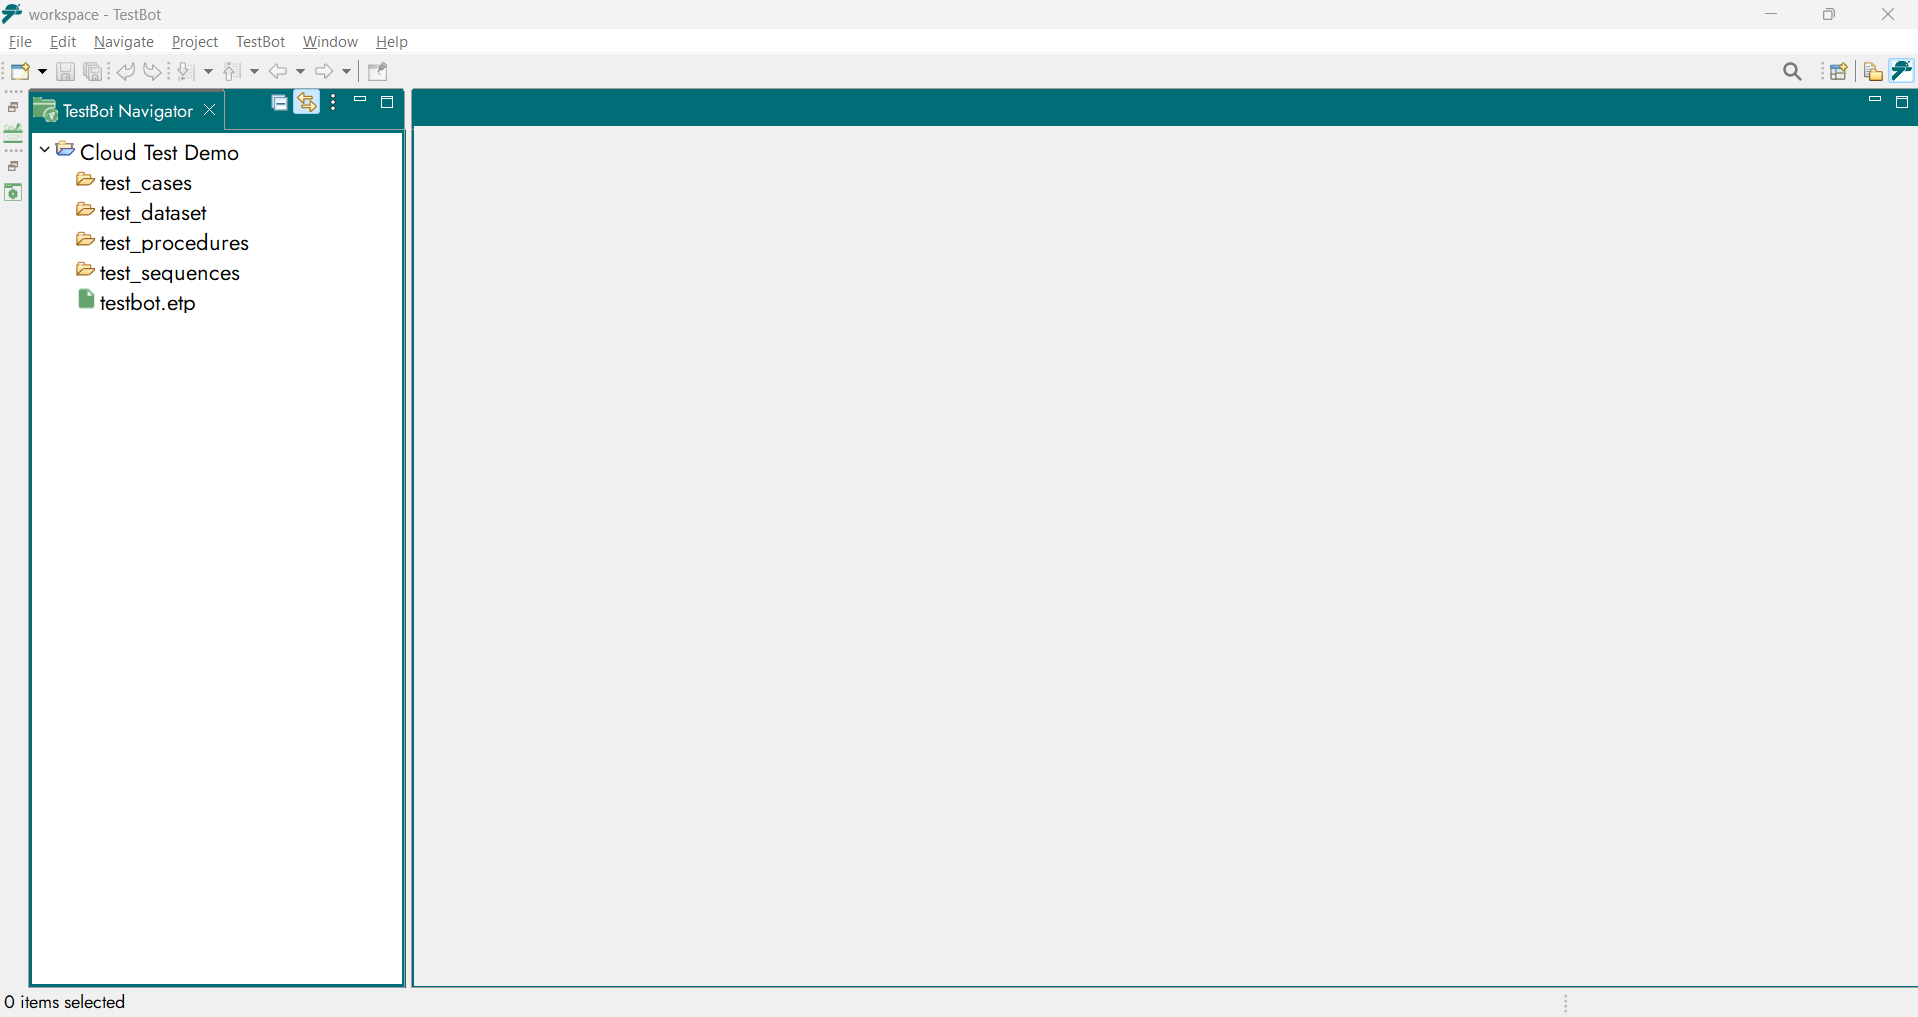
Demo Project
The new TestBot project appears in the Navigator. From here, you can begin creating test methods, importing or creating test data, mapping tests to data, and configuring agents for execution.
What’s Inside a TestBot Project
After creation, a TestBot project contains a structured set of files and folders that represent test assets:
TestBot Project (ETP) - The top-level container for all test artifacts.
Test Procedure Files (ETM) - Logical test cases defined using Test Blocks.
Test DataSet Files (ETD) - Structured test input and expected output values.
Test Case Files (ETI) - Mappings between Test Procedures and Test DataSet, forming single executable test cases.
Test Sequence Files (ETS) - Collections of Test Cases grouped for consolidated execution.
Each file type supports rich test automation workflows and integrates directly with TestBot’s visual editor, execution engine, and reporting system.
Quick Tips for Project Setup
Naming Conventions: Use clear names that reflect the device under test or test area (e.g., CAN_Functional, Web_Login_Tests).
Version Control: Store the workspace or project folder in a version control system to track changes and collaborate across teams.